What is Power Automate?
 Microsoft Power Automate is a Microsoft 365 application that allows users to create automated, event-driven work processes across several different applications. PoliteMail now includes a Flow Connector, so you may automate some of your email processes based on PoliteMail interaction data. The Power Automate tool is accessible from your Office365 Home Page.
Detailed information on creating a connection, available Actions and Triggers may be found here.
Power Automate Vocabulary
- Trigger: An event that starts the Flow
- Actions: What happens after a Trigger occurs
- Connectors: Bridges that allow Power Automate to connect apps and actions together
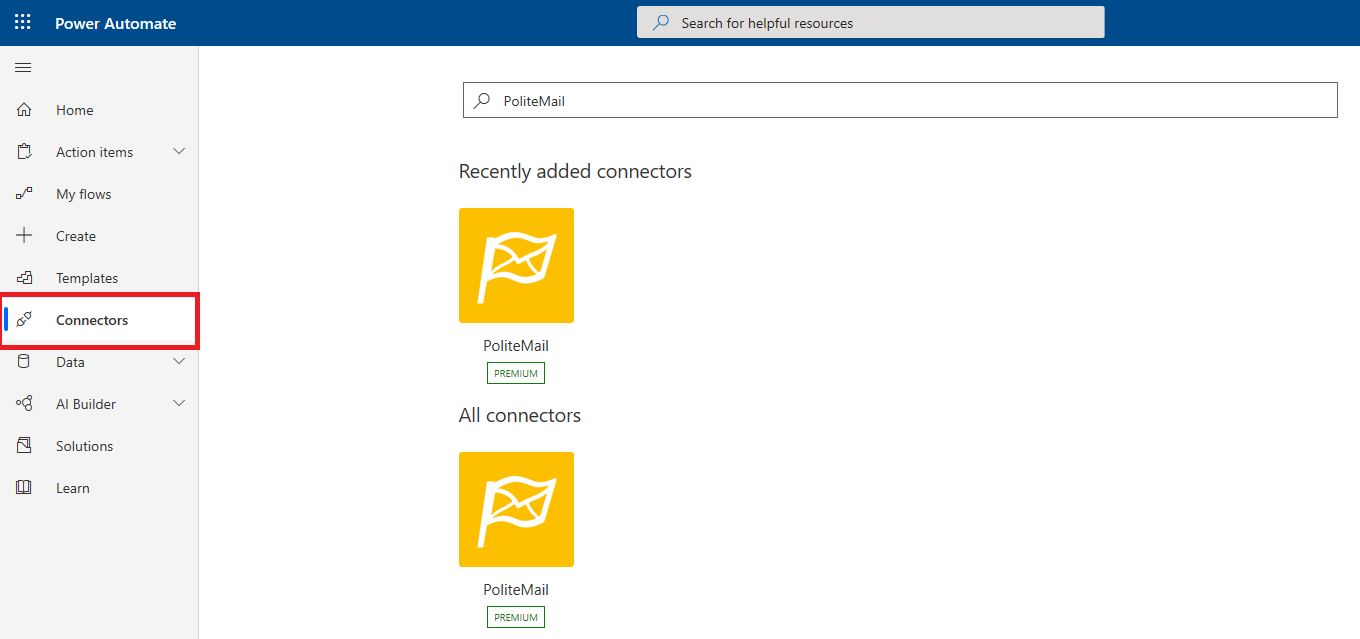
Where to Find the PoliteMail Connector
The PoliteMail Connector is found in the Connectors tab. You can either scroll to the PoliteMail icon from the list of icons, or type in PoliteMail in the Search bar.
Creating a Flow from a Blank Template
Flows can be created either by starting from a blank template, or using one of Power Automate’s built-in templates. You also have the option of importing saved templates. Navigate to My flows to begin and choose New Flow.
For this example, let’s say you have a Shared Folder on SharePoint. You will be adding documents to it and would like a measured (tracked) email sent out that notifies the members of your team that a new document has been added and needs their input. You need to be able to verify who reads the email so you can make sure all team members have seen and edited the document.
- Under the Create tab, you will see several options for building a Flow. For this example, we'll use Automated - From Blank.
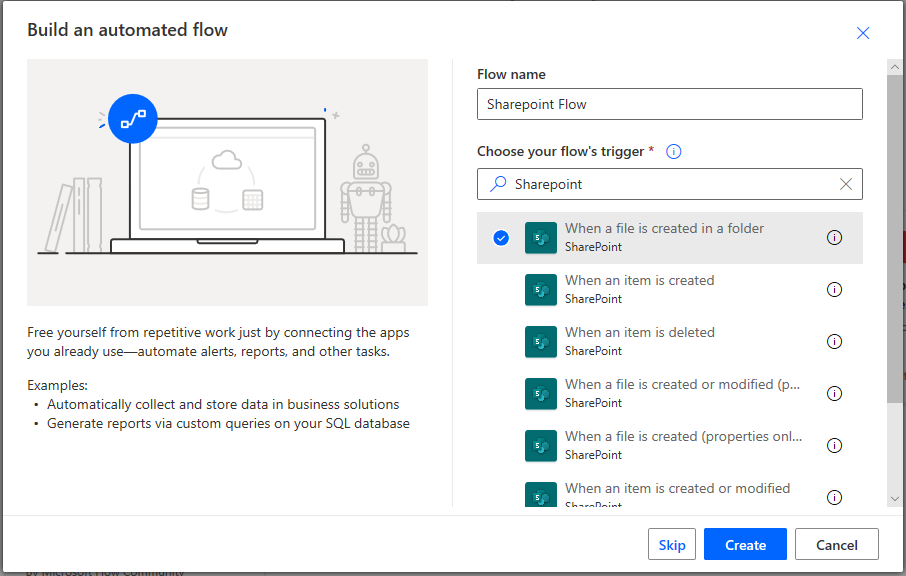 After naming the Flow, you need to set a Trigger. The Trigger, in this case, will be when a document gets added to the shared folder. If you type “SharePoint” in the Search tab, PowerAutomate will list the available Triggers. Click “When a file is created in a folder”. Then click Create.
- Next, you’ll need to add the SharePoint attributes, in this case, where the file is located on SharePoint, and the name of the Folder you want to be included in the Flow. Using the pull-down menu should give you a list of folders available in SharePoint. * Click New Step when you’re done.
 After naming the Flow, you need to set a Trigger. The Trigger, in this case, will be when a document gets added to the shared folder. If you type “SharePoint” in the Search tab, PowerAutomate will list the available Triggers. Click “When a file is created in a folder”. Then click Create.
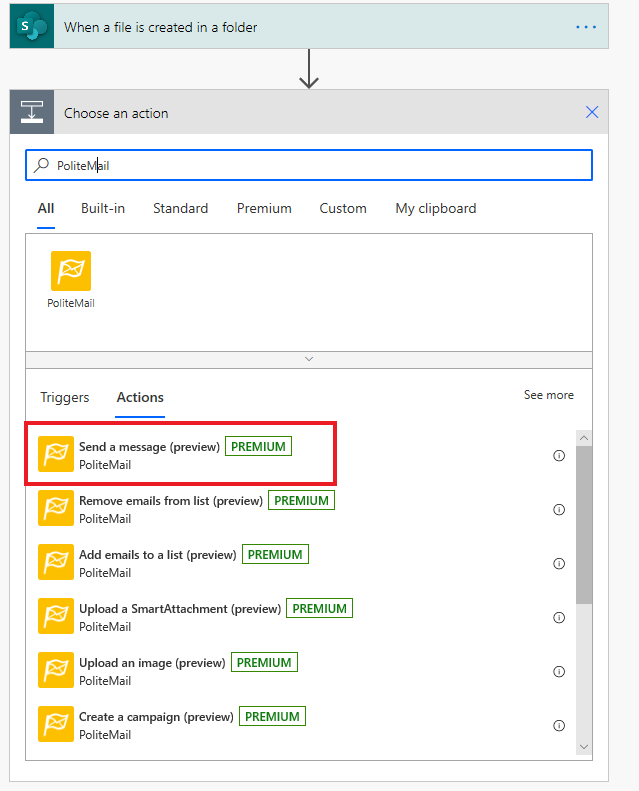 Click Add an Action. In the Action dialogue box, Search for PoliteMail. You’ll now see a list of PoliteMail Actions. * Click Send a Message.
- Your next step is to populate the PoliteMail fields with your email addresses, subject, body, etc. of the email. Click Save when you are finished.
- You can change the name of your Flow by clicking on its title in the left-hand corner of the screen.
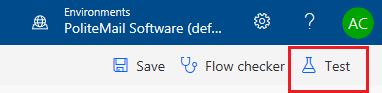
- It’s a good idea to test your Flow. Click the Test icon in the upper right-hand corner.
 Click Add an Action. In the Action dialogue box, Search for PoliteMail. You’ll now see a list of PoliteMail Actions. * Click Send a Message.
Success! Now all the members of the Northwest Sales Team will automatically receive an email that reminds them to update when new documents are added to SharePoint.
Using and Editing Your Flow
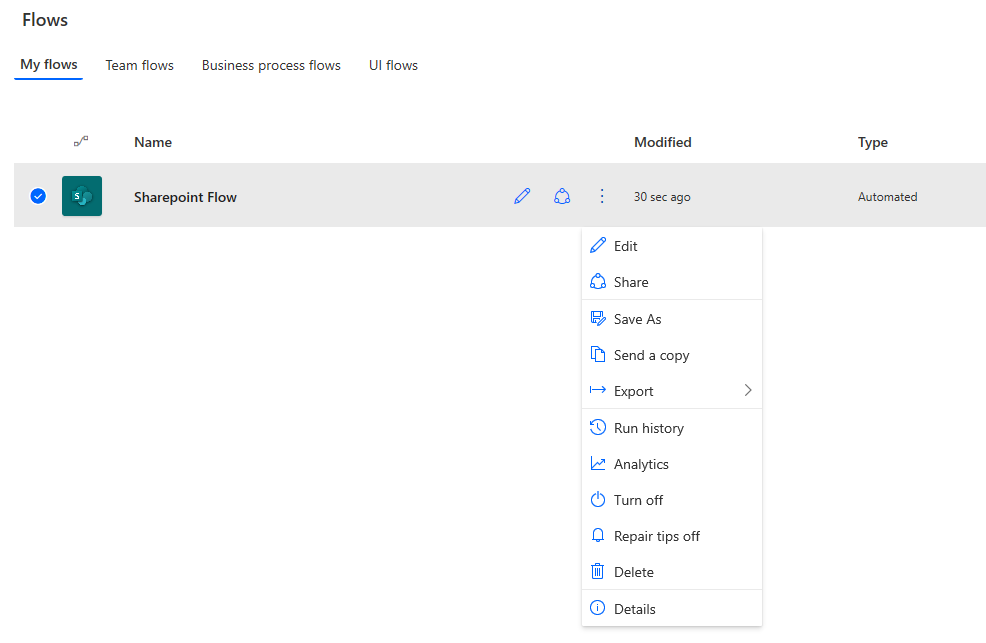 Your new flow should now appear in the My flows tab. You have controls whether to turn the flow off or on, assign other owners to the flow, and edit the flow. You can add a description, see Connections and Owners, and look at the flow’s Run History.
- In the ellipses pull-down menu next to the name of your Flow, you will see several options for saving, deleting, and exporting your Flow. Clicking on Export > Package will allow to you save your flow as a zip file or .json file that can be uploaded and sent.
- Clicking on the Analytics button, either in the ellipses pull-down menu or in the Attributes window, will allow you to view the flow metrics.
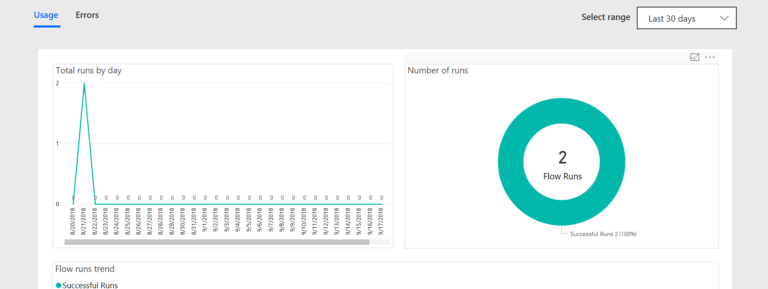
- By hovering your mouse over any of the windows, a pull-down menu will appear with options to view or export the data.
 Your new flow should now appear in the My flows tab. You have controls whether to turn the flow off or on, assign other owners to the flow, and edit the flow. You can add a description, see Connections and Owners, and look at the flow’s Run History.
Notes
If you do not see your shared folders, you may need to check your connection and make sure Flow is connected to it. Clicking on the ellipses menu in the Trigger window will allow you to access settings. If you don’t see yours, check Add New Connection and set up a connection based on your Office365 credentials.
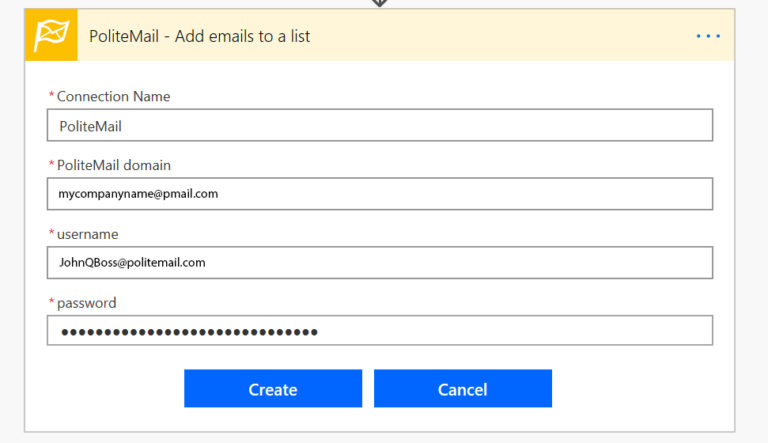 If you do not see your email lists, you may need to check your connection and make sure Flow is connected to it. Clicking on the ellipses menu in the Controller window will allow you to access settings. If you don’t see yours, check New Connection and set up a connection based on your PoliteMail credentials.
