Applies To: ■ PoliteMail Desktop ■ PoliteMail Online ■ PoliteMail O365
Version: □ 4.94 □ 4.97 ■ 5.x
Changing the Alignment of a Button

Changing Button Alignment to the Right From Within a Template
To change a button's alignment to the right that is in a Template or Template Section, click the  in top left of the button to select the entire button. From there, click the
  from the standard Outlook Format Text menu to align it to the right, and you should be all set.
Other Alignment Changes
Centering a button or changing the alignment of a button that is not part of a template is a little trickier as the method above will not work. Here are two possible methods:
Option One
The first option manipulates a button you have inserted from the PoliteMail Builder. When a button is inserted into a message from the PoliteMail Builder, it's actually creating a table - you'll notice that when you click in a button, new menus for 'Table Design' and 'Layout' appear along the Ribbon in the Desktop version of Outlook, and a table floating toolbar appears in PoliteMail Online.
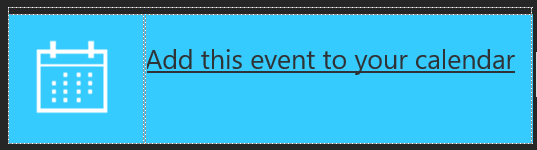 For example, this button is actually a two-column table. The left column holds the calendar icon, and the right columns holds the text, and text shown is a hyperlink to a destination you specify.
For this option, you'll basically create a new column to the left of the first column, make the background color invisible, and resize the new column to a large size so the button (the other two cells) will appear wherever you want, center or right.
- Click in the leftmost column so the cursor is flashing in there.
- Click on Layout > Add Left to add a column to the left. You probably don't notice any change. This is because a new column was added, but its width defaulted to zero. TIP: It really helps to select 'View Gridlines' from the Layout menu so you can see the cell borders.
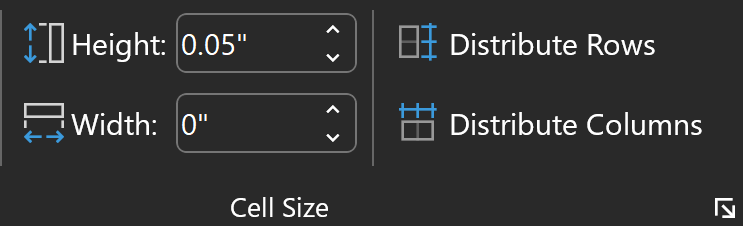 Click back into the cell you were in and then press Shift-Tab to back the cursor up one cell. You should see under 'Cell Size' in the Ribbon that the width is zero.
- Click in the 'Width' field and set the width to a larger amount, say 3" to start. The field you created will now resize and be visible. Continue to modify the width by entering various amounts in the field until the button appears where you want.
- Go to Table Design > Shading and select 'No Color' to make the first cell you created transparent. You're all set! It looks like the button is to the right, like the image below.
- TIP: Sometimes when you change the color, the border may still show as a thick line of color. If so, you may have to "cheat" by selecting the entire table and making both the cell and border color to 'No Color'. Then, select just the cells your actual button is in and set those cells to the color you want.
 Click back into the cell you were in and then press Shift-Tab to back the cursor up one cell. You should see under 'Cell Size' in the Ribbon that the width is zero.
Option Two
The second option does not use the Buttons in the PoliteMail Builder. Instead, you'll insert an image and make a link of it. This option is easier (assuming you have an image of the button you want), but you do not have access to the pre-saved buttons in the PoliteMail Builder.
- In your message, insert the image you want from the PoliteMail Builder. You can optionally insert any image you have on your PC. The image should be of your button. TIP: If you want to use a button from the Builder, insert the Button and then use the Snippet Tool to copy the Button as an image. You can then save the image to your PC or clipboard to use.
 With the image inserted, you can use the alignment buttons to make the image left, centered, or right aligned.
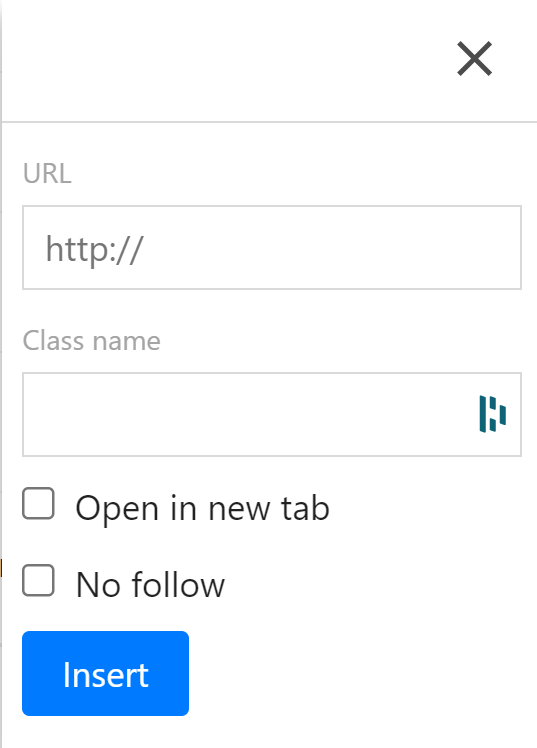
- Click on the image and press Ctrl-K. This will make a hyperlink out of the image when a user clicks on it.
- Enter the destination url. You can also specify if the link should open a new tab or use the existing window.
 With the image inserted, you can use the alignment buttons to make the image left, centered, or right aligned.